Our Location
5th Floor, Huake Center, Lanshan District, Linyi City, Shandong Province, China

5th Floor, Huake Center, Lanshan District, Linyi City, Shandong Province, China
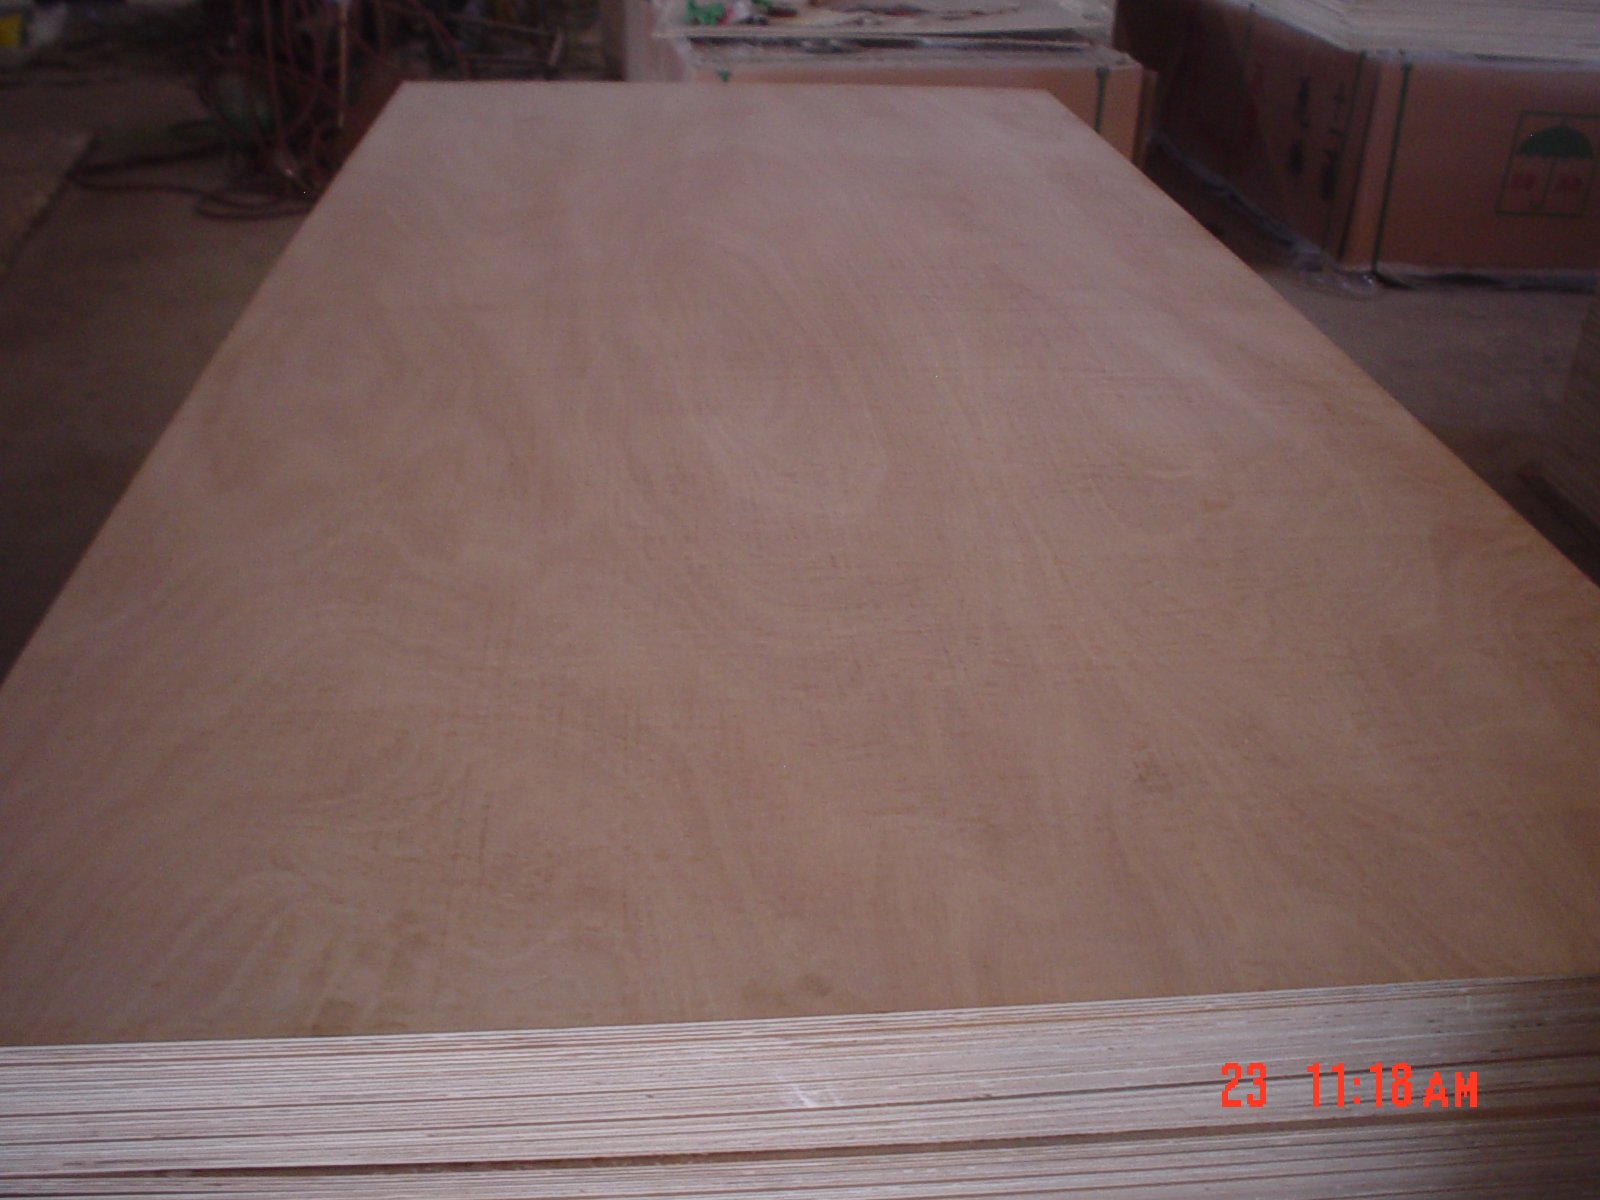
Plywood T1-11, often typed as plywood t 111, is the grooved siding panel that dresses whole walls in one sheet, and the name reads like a code until you break it apart. T1-11 means a 12mm exterior-grade plywood sheet with routed vertical grooves at a fixed spacing, designed to hang as the finished wall skin. The pattern gives a board-and-batten look without a single board of battens.
Buyers who treat T1-11 as ordinary plywood miss the groove layout, the face grade, and the sealing routine that decide whether a facade runs for decades or blisters after a few winters.
The panel is a plywood siding product, and the spec runs on four fixed lines.
Vertical grooves route into the face at a set spacing, usually 100 or 200mm apart, and the pattern changes the character of the wall. Narrower spacing reads like the classic T1-11 strand wall, while wider spacing suits a cleaner modern facade.
A sanded or textured face takes the stain and the sealer, while utility faces work behind a full paint. The face grade controls the finish plan, because every knot and patch reads through a clear stain on the wall.
Exterior-bonded plies survive the weather side of the framing, and the core keeps the panel flat behind the groove. The bond class is the panel”s promise to the climate, so it belongs on the order before the groove spacing.
T1-11 ships in standard sheet sizes, usually 2440 by 1220mm, and the 12mm face carries the siding duty. Long panels reduce the horizontal seams that the site has to flash and seal.
Some T1-11 faces come pre-textured with a rough sawn surface, while others stay smooth and sanded-ready. The texture changes how the finish takes, with textured faces holding stain nicely and smooth faces letting a clean painted wall stay flat across the sheet.
The groove line changes the wall long before the paint, and the spacing sets the visual rhythm.
Panels install with the grooves running vertical and the seams landing on framing. The pattern carries the whole facade, so the spacing choice on the order becomes the first design decision of the wall.
Wood siding lives on sealing, and T1-11 follows the same law with a few panel rules added.
The grooves hold the finish differently from flat sheathing, so primer and topcoat follow the product instructions. A well-sealed T1-11 wall rides out the seasons, while a skipped edge row becomes the first crack in the whole facade.
The finish choice shapes both the look and the maintenance cycle of the wall.
Match the finish to the exposure of the wall. A north-facing sheltered elevation tolerates a natural stain, while a sun-beaten western wall pays for the protection of a solid stain or paint that holds its pigment.
The choice of wall skin compares labor, look, and long-term care side by side.
Labor favors the sheet, and the look favors the taste. Buyers who frame the building themselves often pick T1-11 for the two-in-one install, while a horizontal cladding line waits for a crew that charges by the roof.
Fastening the panel keeps the siding flat and the weather out, and the fixing pattern follows the gauge.
Follow the approved spacing on the installation guide, because the brace value of the wall lives in the fastener schedule. The sheet both skins and braces the frame, and each fastener hands that load to the studs.
Set the fasteners square and to the same depth to keep the groove face running true. A screw driven flush turns the head into a tiny shadow on the pattern, while an overdriven head dimples the face and opens a route for the weather to find the core.
Ordering runs on the panel lines, and the numbers belong in writing.
Hold the sample against the arrival check and read the moisture at random sheets. Suppliers such as HYY quote the bond class, size, and moisture range on the export contract, so the groove pattern that lands matches the facade you approved.
Store the delivered panels flat, off the ground and under cover, and check the moisture before installation. A wet panel seats differently under the fasteners and reads uneven across the seams, so the receiving check protects the wall before the first sheet hangs.
The siding panel claims the wall skin, and the rest of the range covers the other building duties.
Commercial Plywood handles general sheathing and making, while Film Faced Plywood owns the concrete and wet-pour work. And the interior lines keep their own roles: Melamine Plywood pre-finishes fitting-out, MDF Board machines flat for joinery, and Chip Board sits on the budget side of the range. T1-11 earns the outside of the building, and the family covers everything inside it.
Fewer seams cut the flashing and the maintenance line at the same time. T1-11 installs as a run of tall panels, so the typical wall carries only the vertical joints and the flashings at the roof and the corners, which is the quiet reason the panel keeps its place on sheds, gables, and outbuildings.
Match the bond to the climate, the face to the finish, and the groove to the design, then seal and fix to the schedule. Those lines turn plywood T1-11 into a wall you can sign off before the first tin of stain.
What does T1-11 stand for? The name means a 12mm exterior plywood siding with routed vertical grooves, one third of an inch thick in the old measure, produced as a single sheet wall skin.
Can T1-11 be painted? Yes, a primed and topcoated T1-11 wall finishes clean, and the grooves carry the same paint cycle as the flats when the panel is sealed before installation.
Is T1-11 plywood weatherproof? The exterior bond handles the climate, while the installed panel still needs sealed edges, primed backs, and a maintained topcoat to hold the weather worth its name.
How long does T1-11 siding last? A well-sealed and maintained T1-11 wall runs for decades, while a skipped maintenance cycle shortens the service life fast at the grooves and the seams.
Can I use ordinary plywood as siding? Ordinary sheathing lacks the groove face and the exterior finish tolerance, so the routed siding panel earns its place on the outside of the building.
How far apart should fasteners be on T1-11? Follow the approved spacing on the installation guide, with edge rows on every stud and field fasteners down the sheet width, so the panel both skins and braces the frame.
Should the grooves face up or down in the fix? The grooves run vertical on the wall and the sheet reads top to bottom, with the routed face to the weather and the back face primed against the wall side.
Do I need house wrap behind T1-11? Yes, the panel skins the frame but the wrap handles the air and moisture management behind the sheet, so keep the building paper and the flashings on the schedule.