Our Location
5th Floor, Huake Center, Lanshan District, Linyi City, Shandong Province, China

5th Floor, Huake Center, Lanshan District, Linyi City, Shandong Province, China
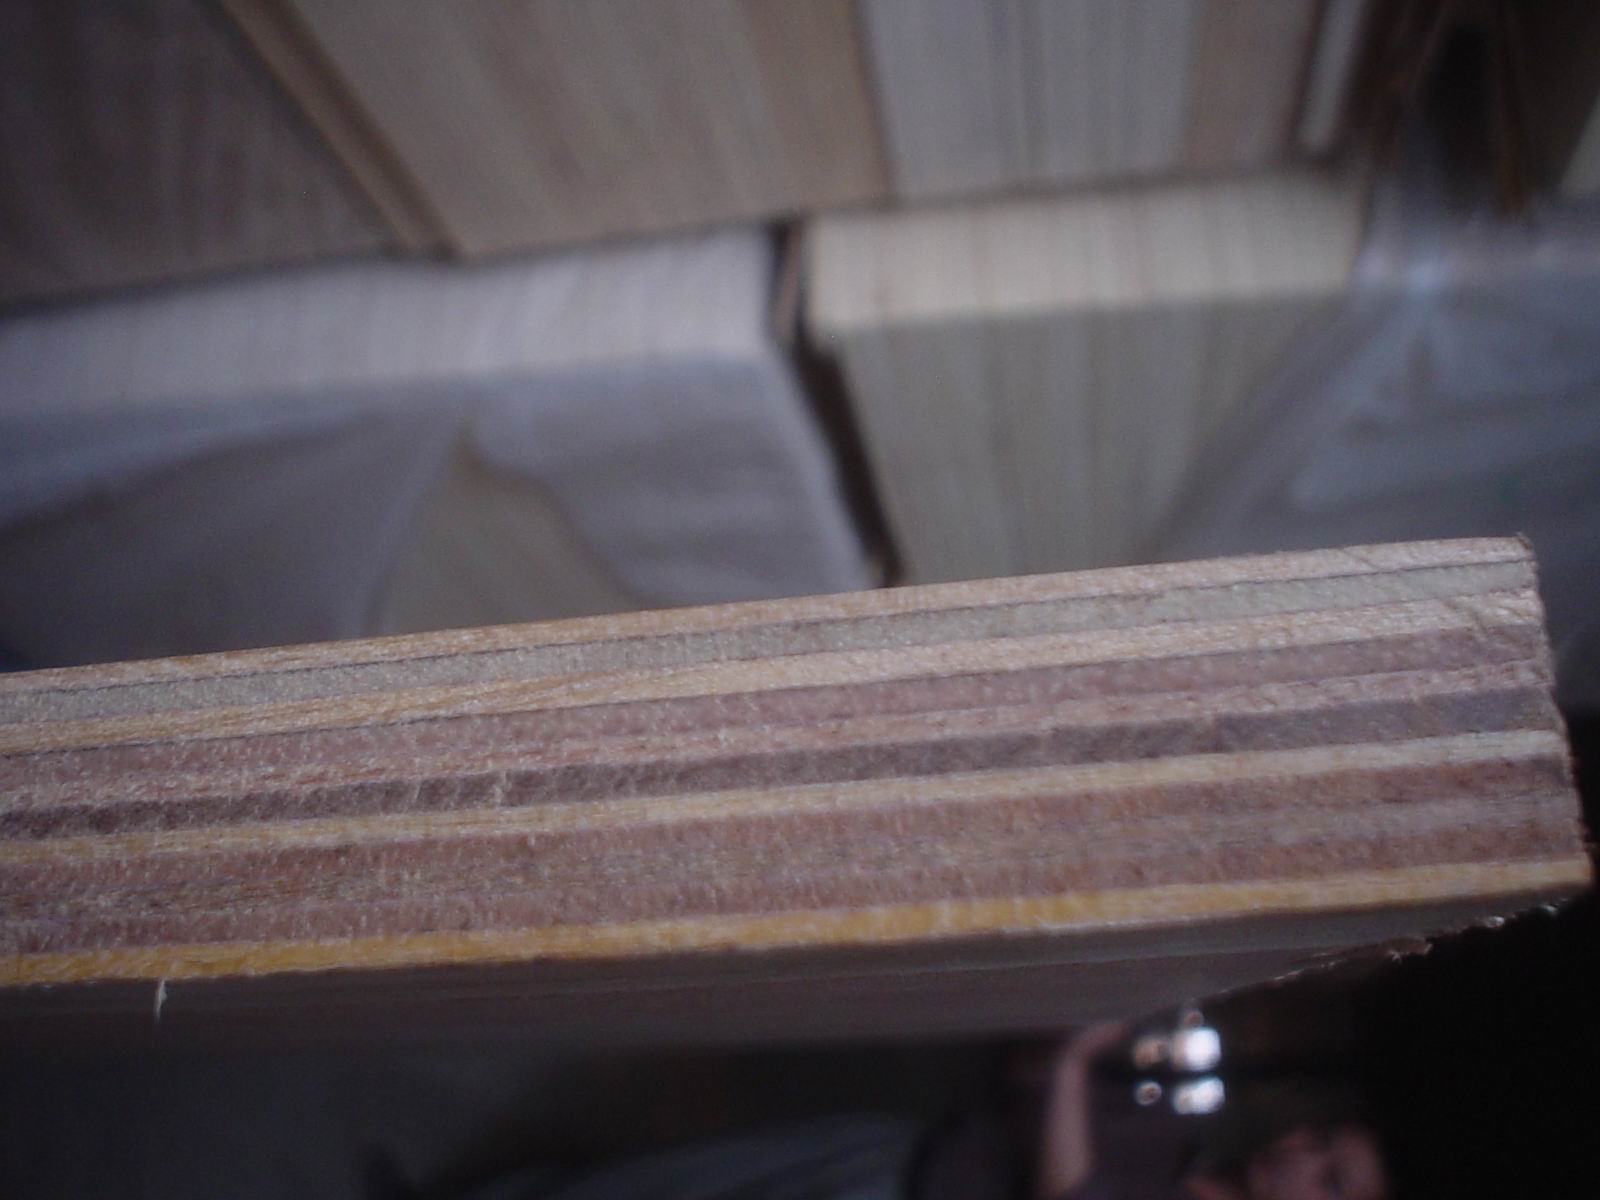
Plywood z flashing is a stepped metal strip shaped like a Z that bridges a horizontal joint between two plywood panels, shed water away from the seam, and stop it reaching the structure behind. The upper flange sits under the panel above, the lower flange laps over the panel below, and the middle web carries the water out past the join.
On a roof, a wall, or a sheet-clad structure, the z flashing is the detail that keeps a horizontal seam dry, and a poorly fitted or wrongly sized flashing is one of the most common sources of hidden leaks in these builds.
The Z flashing does one job well: it moves water across a joint and away from the panel below, so the seam never relies on a seal alone. Gravity carries the water down the upper panel, over the flashing, and down the lower panel, always to the outside.
At a horizontal joint, the two panels create a step that water can travel into. The z flashing caps that step, laps each panel in the right direction, and turns the joint into an over-and-under detail that sheds rather than traps water.
The same profile appears at the top of a wall sheathing, at the base of a window, and under a roof panel. Anywhere a horizontal edge meets a surface below, the z flashing repeats the shingle principle that each layer laps over the one beneath it.
The Z shape has three parts: a top flange, a vertical web, and a bottom flange. The top flange slides under the upper panel, the web spans the joint, and the bottom flange lies over the lower panel, so any water that crosses the web lands on the lower panel face, not in the joint.
That simple geometry is why the profile works. As long as the flanges lap the right way and the flashing slopes outward, the water cannot run backward into the structure.
The z flashing serves sheet roofs, plywood-sheathed walls, sheds, and outbuildings. On a low-slope sheet roof, it runs at every horizontal panel joint; on a wall, it runs at the base of the sheathing and above openings.
On a roof, the flashing pairs with the panel laps and the roof’s slope. A steeper roof sheds faster and tolerates a simpler flashing, while a low-slope roof needs a taller web and a more generous lap to move the water reliably.
On a wall, the flashing at the base of the sheathing directs water out past the cladding, and a flashing above a window head keeps the water off the opening below. Each location uses the same Z principle at a different scale.
On the roof, the flashing steps with each panel course, so the water crosses from one panel to the next without ever meeting a raw edge. On the wall, the flashing keeps the water outside the sheathing line, where it can drain down the exterior face.
The detail also protects the structure behind the panel. Water that reaches the frame causes rot and movement, so the flashing is the barrier that keeps the timber dry behind the visible sheet.
The z flashing comes in sizes set by the joint it spans. The top and bottom flanges lap the panels by a set amount, and the web height matches the panel thickness and the step at the joint. A flashing that is too shallow leaves the joint exposed, and one too deep stands off the surface.
Materials include galvanised steel, aluminium, and coated steel, chosen for the roof’s exposure and the panel’s material. A coastal site favours aluminium or a coated steel that resists salt, while an inland shed takes a galvanised strip.
The profile can be a plain Z or a stiffened Z with a folded rib that resists bending across a wide span. A long span between fixings needs the stiffer profile so the flashing does not sag and pond water along its length.
The flashing metal should suit the panel and the climate. Pairing steel with an incompatible metal can drive galvanic corrosion, so the flashing and the fixings should be matched to the roof material.
A pre-painted or a coated flashing blends with a coloured roof and adds a layer of corrosion protection. The coating also hides the smears that bare metal picks up on site, which keeps the finished roof looking clean.
Installation follows the lap and the slope. Start at the low edge and work up, laying each flashing so the lower flange sits over the panel already fixed and the upper flange waits under the next panel up.
Fix the flashing through its flange into the structure or the battens, using fasteners that match the metal and the panel. Space the fixings so the flashing stays flat and cannot lift in the wind, especially at the ends where the panel meets an edge.
Seal the laps where the design calls for it, but never rely on sealant alone. The flashing sheds the water by shape, and the sealant only backs up the lap where wind-driven rain might creep under.
Lap every layer so the water always runs over the next piece down. The upper panel laps the flashing, the flashing laps the lower panel, and the lower panel laps the course below, so the whole roof reads as one shingled surface.
Follow the sequence from the bottom of the roof to the top. Working upward lets each piece lap the finished course below, while working downward leaves an exposed edge that water finds immediately.
The most common error is a reversed lap, where the flashing sits over the panel it should lie under, so water runs straight into the joint. Reversing even one piece defeats the whole shingle principle.
A second error is a web that is too short, which lets water ride over the flashing and into the joint below. The web height must clear the panel thickness and the slope so the water never reaches the lap under it.
A third error is fixing through the exposed face of the flashing, which pierces the water path and invites a leak at every fastener. Fix through the covered flange, never through the face the water runs on.
Inspect the flashing before the next course hides it. Check the lap direction, the web height, and the fixing points while the detail is still open, because the flashing is impossible to correct once the roof is clad.
A short hose test on a completed course shows whether the water crosses the joint or creeps behind it. Catching a fault at that stage saves the far larger job of stripping the roof back to the frame.
A z flashing needs little care, but it needs checking. Look for lifted ends, loose fixings, and corrosion along the metal, and re-fix or replace any piece that has moved or rusted through.
Keep the roof and the flashing clear of debris that traps water, because a pile of leaves holds moisture against the metal and shortens its life. Clear the joints and the low edges each season.
Touch up the coating where it has been scratched, since a bare spot rusts and stains the panel below. A little paint on a scratch keeps the flashing and the roof looking sound.
A failed flashing usually shows as a stain on the panel below or a damp patch inside the structure. Lift the panel above the joint, replace the flashing, and re-lay the panel with the correct lap.
Patch repairs with sealant only buy time, because the shape, not the sealant, is what sheds the water. Replacing the flashing restores the detail and closes the leak for good.
The panel under the flashing must resist the weather the roof or wall faces. Film Faced Plywood gives a moisture-resistant face for a sheet roof, while Commercial Plywood builds a stable wall sheathing behind the flashing. Melamine Plywood and MDF Board suit a protected interior face where the flashing closes the joint, and Chip Board covers the budget tier for a covered panel.
Suppliers such as HYY list the bond class and the thickness on the contract, so the buyer can order a panel that stays sound behind the flashing and under the weather.
What is z flashing used for? It sheds water at a horizontal joint between panels on a roof or a wall, lapping each panel so water crosses the seam to the outside.
How do you install z flashing on a plywood roof? Work from the bottom up, lap the lower flange over the panel below, tuck the upper flange under the next panel, and fix through the covered flange only.
What size z flashing do you need? The flanges lap the panels by a set amount and the web matches the panel thickness and the step at the joint, with a stiffer profile for a wide span.
Can you use z flashing on a wall? Yes. It runs at the base of the sheathing and above openings to keep water outside the structure.
Does z flashing need sealant? The shape sheds the water, and sealant only backs up the lap where wind-driven rain might creep under. Never rely on sealant alone.