Our Location
5th Floor, Huake Center, Lanshan District, Linyi City, Shandong Province, China

5th Floor, Huake Center, Lanshan District, Linyi City, Shandong Province, China
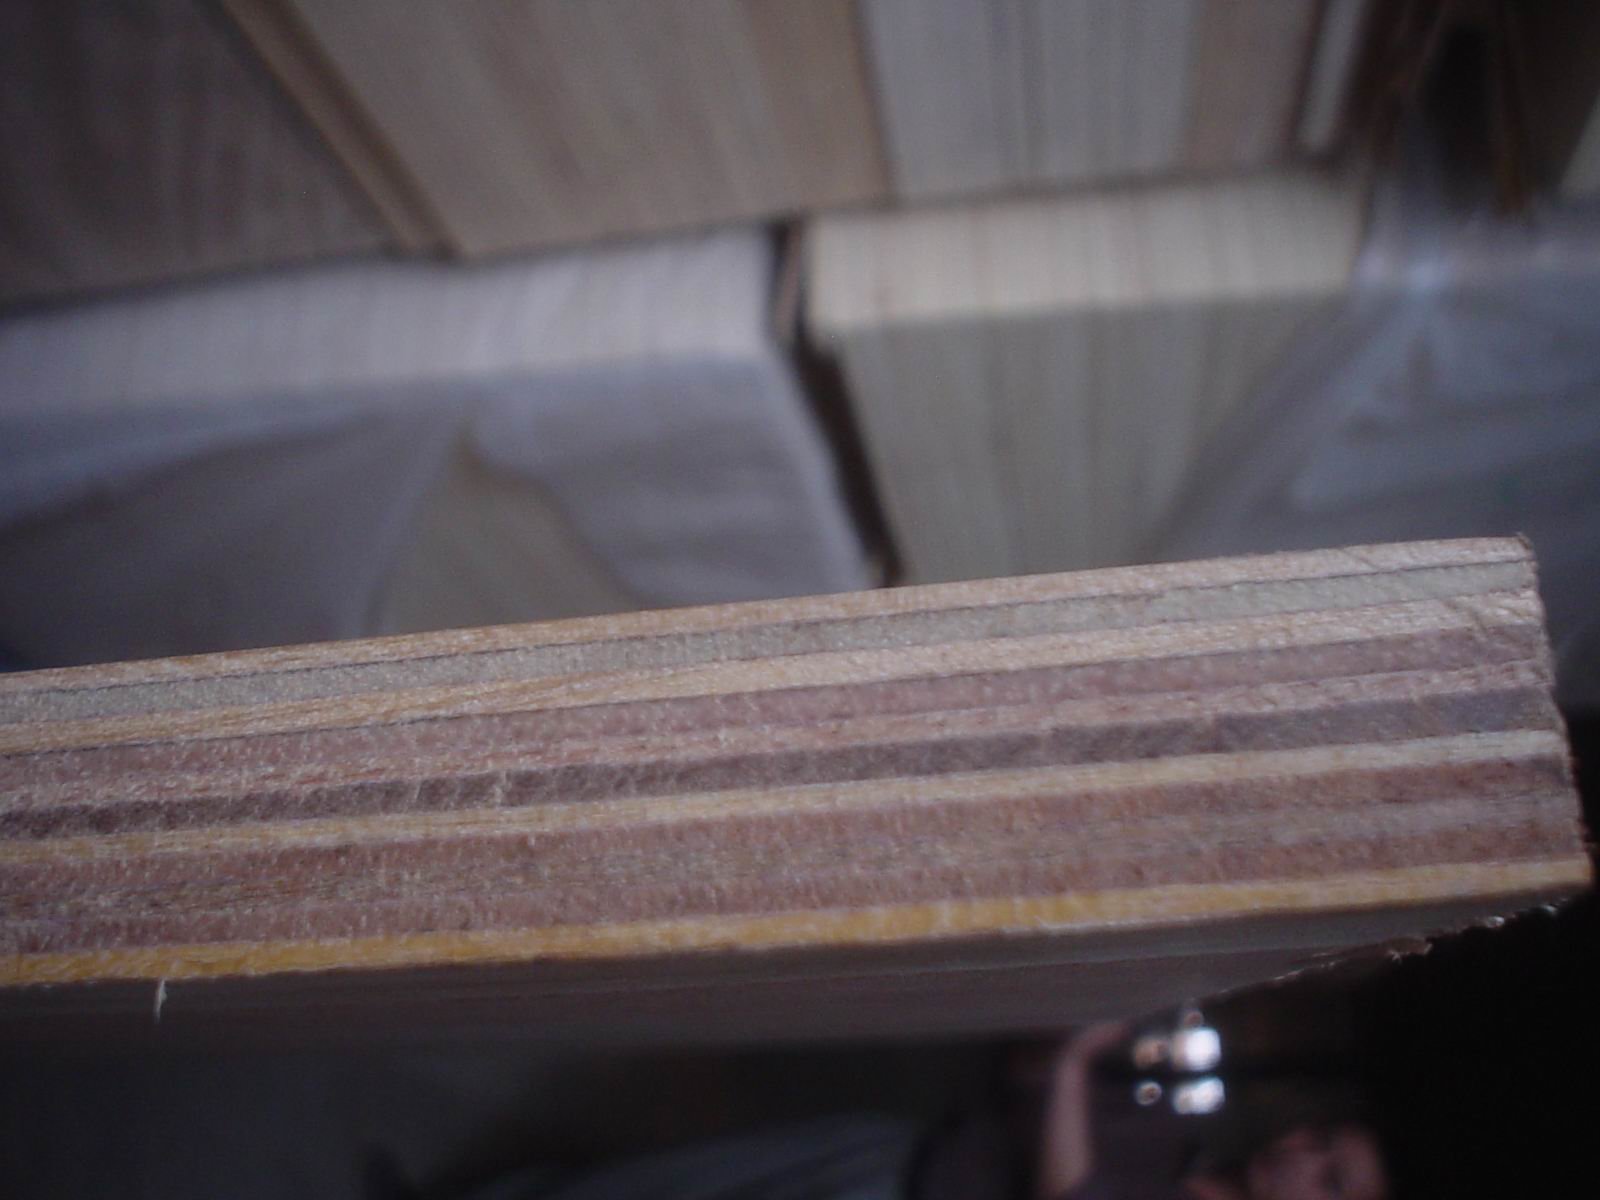
A plywood organizer is a shop-built storage unit made from the same panel it so often stores, turning offcuts and spare sheets into tidy bays, slots, and drawers for tools, fasteners, and hardware. The panel is cheap, flat, and easy to cut, so a maker can build an organizer to fit a wall, a bench, or a corner exactly.
Getting a plywood organizer right comes down to the layout and the joinery, because a unit that fits the tools and the space stays useful, while one that ignores the real sizes ends up a shelf of clutter.
The organizer brings order to a workshop by giving every tool and every part a fixed home. Bays hold power tools, shallow slots hold hand tools, and small drawers hold screws, so the bench stays clear and the maker finds a part without searching.
Plywood suits the job because it is stable, light, and available in the thicknesses an organizer needs. The maker cuts the panel to the exact sizes of the tools and the wall, which a store-bought unit rarely matches.
The organizer also puts the shop’s own offcuts to work. A build that uses the leftover panel from a bigger job costs almost nothing and keeps usable material out of the bin.
In a small shop, vertical storage beats floor storage, and a wall-mounted plywood organizer frees the bench and the floor at once. The unit uses the wall the shop already has and keeps the work triangle clear.
A labelled organizer also speeds up every job. When each tool and each screw type has a visible slot, the maker spends time building rather than hunting for a bit or a box.
Organizers take a few common forms. A wall cabinet with doors hides the contents, an open shelving unit keeps tools visible, a pegboard-and-shelf hybrid mixes hanging and stacking, and a roll-around cart moves the storage to the job.
The form follows the space and the use. A fixed wall unit suits a permanent bench, while a rolling cart suits a shop that moves work around. An open unit suits tools used daily, and a closed unit suits parts that gather dust.
Each type shares the same carcass logic: a box of shelves and dividers sized to the contents. The maker chooses the form, then sizes the bays to the tools and the fasteners the shop actually owns.
A wall unit fixes to the studs and spans a bench or a bay, using the height a shop already has. A cabinet unit adds doors and keeps the contents out of sight, which suits a shared or a rented space.
A rolling organizer carries the tools to the work and stores them again when the shift ends. Castors sized for the load keep the cart stable, and a locking castor keeps it still while the maker works.
The layout starts with a measured list of the contents. Measure the tallest tool, the widest case, and the range of fastener sizes, then set the bay heights and the slot widths from those real numbers rather than guessing.
Divide the unit into zones. Put the heavy power tools low and the light hand tools at eye level, keep the fasteners in shallow drawers near the bench, and leave a clear top surface for the work itself.
Add adjustability where the contents change. Shelf pins or a slotted side let a bay grow or shrink as the tool collection does, so the organizer stays useful for years instead of a single season.
A shelf that is 10 mm too short wastes a whole bay, and one that is 100 mm too tall wastes the wall. Measuring the actual tools before cutting the panels is what turns a good-looking unit into a working one.
Fastener storage rewards small compartments. Shallow divided drawers for screws, washers, and plugs keep the parts sorted and stop the small items from drifting to the bottom of a deep box.
Cut the carcass panels square and consistent from a cut list, then dry-fit the box before glue and screws. A square carcass takes the shelves and the dividers cleanly, while a twisted one fights every part that follows.
Join the panels with glue and screws, or use dados and rabbets where the maker wants a stronger, finer unit. A glued and screwed joint carries the load of the tools and stops the shelves from sagging over time.
Add a back panel for rigidity. The back keeps the unit square, stops the sides from racking under a heavy load, and gives the wall fixing a solid surface to grip.
A dado or a rabbet seats the shelf in a groove and takes the load far better than a butt joint. The groove also locates the shelf square, so the whole unit lines up as it goes together.
Dividers turn a wide bay into small compartments for tall items and short stacks. Cut them to fit between the shelves and screw or glue them in place, spacing them to the widths the tools and the boxes need.
A shop organizer takes knocks and dust, so a durable paint or a clear finish protects the surface and makes it easy to wipe. Seal the cut edges so the damp air of a workshop cannot lift the plywood layers.
Label every bay and every drawer. A printed label, a painted word, or a colour tag turns the organizer into a system, so anyone in the shop can find and return a tool without asking.
Finish the exposed edges with banding or a solid trim where the organizer is seen. A tidy edge makes the unit look built-in rather than improvised, and it protects the layered core at the same time.
An oil-based paint or a polyurethane varnish resists knocks and cleaning on a shop unit, while a bright colour helps locate the organizer in a cluttered space. A clear coat suits a maker who likes the timber look.
Touch up the finish where tools have chipped it, because a bare edge on a shop unit soon swells in the damp. A little paint on a scratch keeps the organizer sound.
Place the organizer where the tools are used, not where the wall is empty. A unit beside the bench or above the assembly table saves steps, while one across the shop becomes a shelf the maker avoids.
Keep the most-used items at the most accessible height. The reach zone between the waist and the shoulder holds the daily tools, while the high and low bays hold the occasional ones.
Leave room to add a unit later. A first organizer that fills only part of the wall leaves space for a second as the tool collection grows, and the two units line up as a set.
A modular design, sized in multiples of a bay, lets the maker add a new unit beside the old one without rebuilding either. Standard bay widths make the whole run look planned.
Reconfiguring an adjustable organizer takes minutes with shelf pins, so the maker moves a shelf rather than replacing the unit when a new tool arrives. That flexibility is what keeps the storage working as the shop changes.
The organizer builds from the panel range that suits a shop. Commercial Plywood gives a flat, screw-holding carcass for the benches and shelves, while Melamine Plywood brings a wipe-clean face for a drawer front or a shelf. MDF Board machines a smooth face for painted dividers, Film Faced Plywood suits a damp shop where a tough face helps, and Chip Board covers the budget tier for light bins and dividers.
Suppliers such as HYY list the thickness and the core on the contract, so the buyer can order a panel that carries the shelves and stays flat across every bay.
What plywood is best for a shop organizer? A dense commercial panel holds screws and carries the shelves, while a pre-finished or a faced panel suits the drawers and the fronts.
How do you build a plywood organizer? Cut the carcass to a measured cut list, dry-fit it square, join the panels with glue and screws, add a back for rigidity, and finish and label it.
How thick should plywood be for an organizer? An 18 mm panel suits the carcass and the shelves, with thinner panels for the dividers and the drawer sides.
Can you make an organizer from plywood offcuts? Yes. Offcuts from a larger build are ideal for a small organizer, which keeps the cost low and the material out of the bin.
How do you stop shelves sagging in an organizer? Use a dado or a rabbet, keep the shelf span short, and support the shelf with a back or a centre divider.