Our Location
5th Floor, Huake Center, Lanshan District, Linyi City, Shandong Province, China

5th Floor, Huake Center, Lanshan District, Linyi City, Shandong Province, China
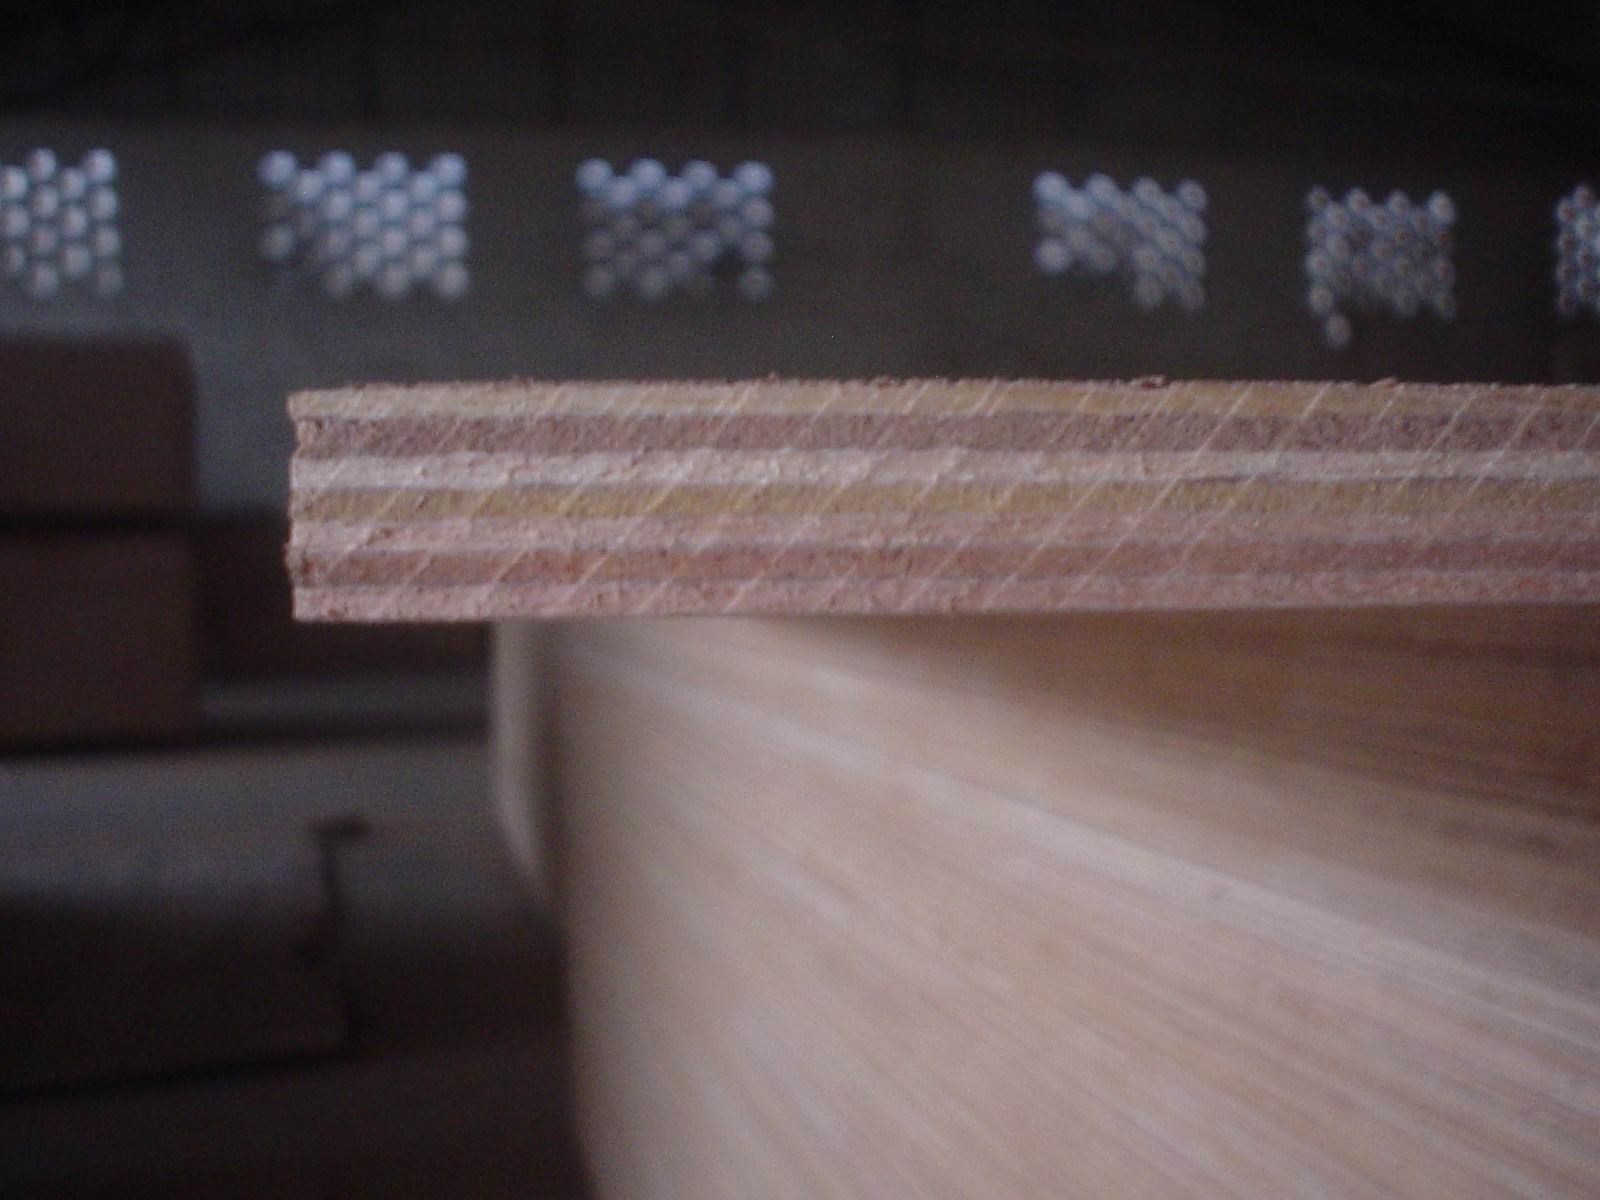
A plywood vanity gives a bathroom a stable, screw-holding carcass that costs less than solid timber and resists the moisture a wet room throws at it. The layered panel stays flat behind the doors, carries the counter and the basin, and takes a finish that keeps it sound through years of steam and splashes.
The build succeeds when the panel grade suits the moisture, the waterproofing seals the cut edges, and the layout fits both the plumbing and the room. A vanity that skips any of those three fails where water collects.
Plywood holds screws and takes a veneer or a laminate face, so it builds a vanity carcass that is strong, flat, and light for its size. The cross-lamination resists the swelling that solid timber shows when the bathroom turns humid.
The panel also takes a wide range of finishes, from paint to laminate, so the vanity can match the room’s look without the cost of bespoke joinery. The maker shapes the panels with ordinary shop tools and assembles them with screws and glue.
Above all, plywood is predictable. It keeps its dimension in the steam, so the doors stay aligned, the drawers run true, and the counter sits flat without the seasonal movement that plagues solid wood in a wet room.
MDF and particleboard suit dry cabinet carcasses, but in a bathroom they swell at the cut edges and crumble once water reaches them. Plywood resists that swelling far better because its layers bond across the grain.
Where the budget allows, a moisture-resistant plywood gives the best balance of cost and durability for a wet room. Where the cabinet is sure to stay dry, a standard panel with sealed edges works, provided the waterproofing is thorough.
The panel grade must match the moisture. An exterior-bonded or moisture-resistant grade keeps its glue line when the room steams, while an interior grade fails at the edge where water wicks into the layers.
Thickness follows the part. A 18 mm panel carries the carcass and the shelves, a thinner panel suits the drawer sides and the back, and a solid or a thick panel takes the counter where it spans the basin.
The face follows the finish. A sound face veneer takes paint or a clear coat evenly, while a panel faced with laminate or melamine gives a wipe-clean surface that suits the basin area, where splashes are constant.
Any plywood in a bathroom should carry an exterior or moisture-resistant bond, because the glue line must survive the humidity. Even with the right bond, the cut edges still need sealing, since the exposed layers are where water enters.
Seal every edge with a waterproof sealer, an edge band, or a solid trim. The sealed edge resists the wicking that swells the panel and starts the delamination that ruins a vanity from the inside.
A vanity takes a few common forms. A door-and-drawer cabinet gives storage under the basin, an open-shelf unit gives quick access, and a floating wall-hung version frees the floor. The form follows the space and the plumbing.
The plumbing sets the layout. The cabinet must clear the waste and the supply lines, so the maker plans the internal shelves and the back panel around the pipe runs before cutting any plywood.
The counter and basin set the top. A countertop basin needs a solid, level deck, an inset basin needs a routed opening, and an undermount basin needs a strong substrate that supports the basin’s weight.
A wall-hung vanity frees the floor and makes cleaning easy, but it needs a strong fixing into the wall to carry the weight of the cabinet, the counter, and the water. A freestanding vanity rests its load on the floor and suits a stud wall that cannot take the pull.
The choice follows the wall and the user. A heavy stone counter pushes the design toward a freestanding frame with a solid base, while a light counter suits the wall-hung look where the wall is sound.
Waterproofing is the difference between a vanity that lasts and one that swells. Seal every edge, coat every face that can see moisture, and use a waterproof adhesive at the joints so water cannot travel along a seam.
The finish follows the panel. An exterior paint or a waterproof varnish protects a painted carcass, a laminate or melamine face resists splashes on its own, and a clear coat over a veneer keeps the timber look while blocking the moisture.
Seal the counter opening and the basin joint as well. The gap around an inset basin is a water path, so a bead of silicone at the joint stops the water that would otherwise reach the panel below.
Edge banding covers the core on every visible edge, and a matching or contrasting band turns the exposed layer into a finished line. Pre-glued banding trims cleanly after it cools, and a solid trim takes the knocks a bathroom edge receives.
Seal the joints where the panels meet. A waterproof glue line at the carcass joints, plus a bead of silicone where the cabinet meets the floor and the wall, closes the paths that steam and splashes would find.
Start with a cut list from the plan, then cut the carcass panels square and consistent. Dry-fit the box before glue and screws, and check it for square, because a twisted carcass never fits a door or a drawer well.
Assemble the carcass with glue and screws, and add a back panel for rigidity. A braced back keeps the cabinet square and stops the doors from drifting as the vanity settles into its place.
Fit the shelves, then the doors and the drawers, then the counter. Check the reveal around every door and drawer as you go, because a consistent gap is what makes a shop-built vanity look store-bought.
Cut the counter opening to the basin template and seal the cut edge before the basin drops in. Dry-fit the basin, then bed it on a waterproof sealant so the joint resists the water that pools around the rim.
Check the counter for level and for support under the basin. A counter that flexes under the basin’s weight cracks at the joint and opens a water path, so the substrate beneath the basin must be solid.
The first mistake is using an interior-bonded panel in a wet room. The glue line fails at the first steam, so the vanity must use an exterior or a moisture-resistant grade from the start.
The second mistake is leaving the edges raw. An unsealed edge wicks water into the core and swells the panel, so every cut edge needs a sealer, a band, or a solid trim.
The third mistake is ignoring the plumbing clearance. A cabinet cut without planning the pipes ends up with a shelf that blocks the waste or a back panel that splits the supply line, so measure the plumbing first.
A finished vanity needs little care beyond wiping the surfaces and checking the sealant around the basin and the edges. Re-seal the joints when the silicone cracks, and touch up any chipped finish before water reaches the panel.
Catch the small faults early and the vanity lasts for years. A loose edge or a cracked joint is cheap to fix, while the swelling behind it is expensive to undo.
The panel grade decides how the vanity handles the wet room. Film Faced Plywood brings a moisture-resistant face that suits a hard-working carcass, while Commercial Plywood builds a stable interior structure for the doors and shelves. Melamine Plywood gives a wipe-clean finish for the basin area, MDF Board machines a smooth painted face for a dry vanity, and Chip Board covers the budget tier where the cabinet stays dry.
Suppliers such as HYY list the bond class and the thickness on the contract, so the buyer can order a panel that survives the steam and carries the counter without swelling.
Can you use plywood for a bathroom vanity? Yes, with an exterior or a moisture-resistant grade and sealed edges. The bond class and the waterproofing decide how long it lasts.
What plywood is best for a vanity? A moisture-resistant panel for the carcass and a wipe-clean faced panel for the basin area give the best balance of cost and durability.
How do you waterproof a plywood vanity? Seal every edge, coat the faces with a waterproof finish, use waterproof glue at the joints, and seal the basin joint with silicone.
Is plywood better than MDF for a vanity? In a wet room, plywood resists edge swelling far better than MDF, which crumbles once water reaches its core.
How thick should plywood be for a vanity? An 18 mm panel carries the carcass and shelves, with thinner panels for the drawer sides and the back.