Our Location
5th Floor, Huake Center, Lanshan District, Linyi City, Shandong Province, China

5th Floor, Huake Center, Lanshan District, Linyi City, Shandong Province, China
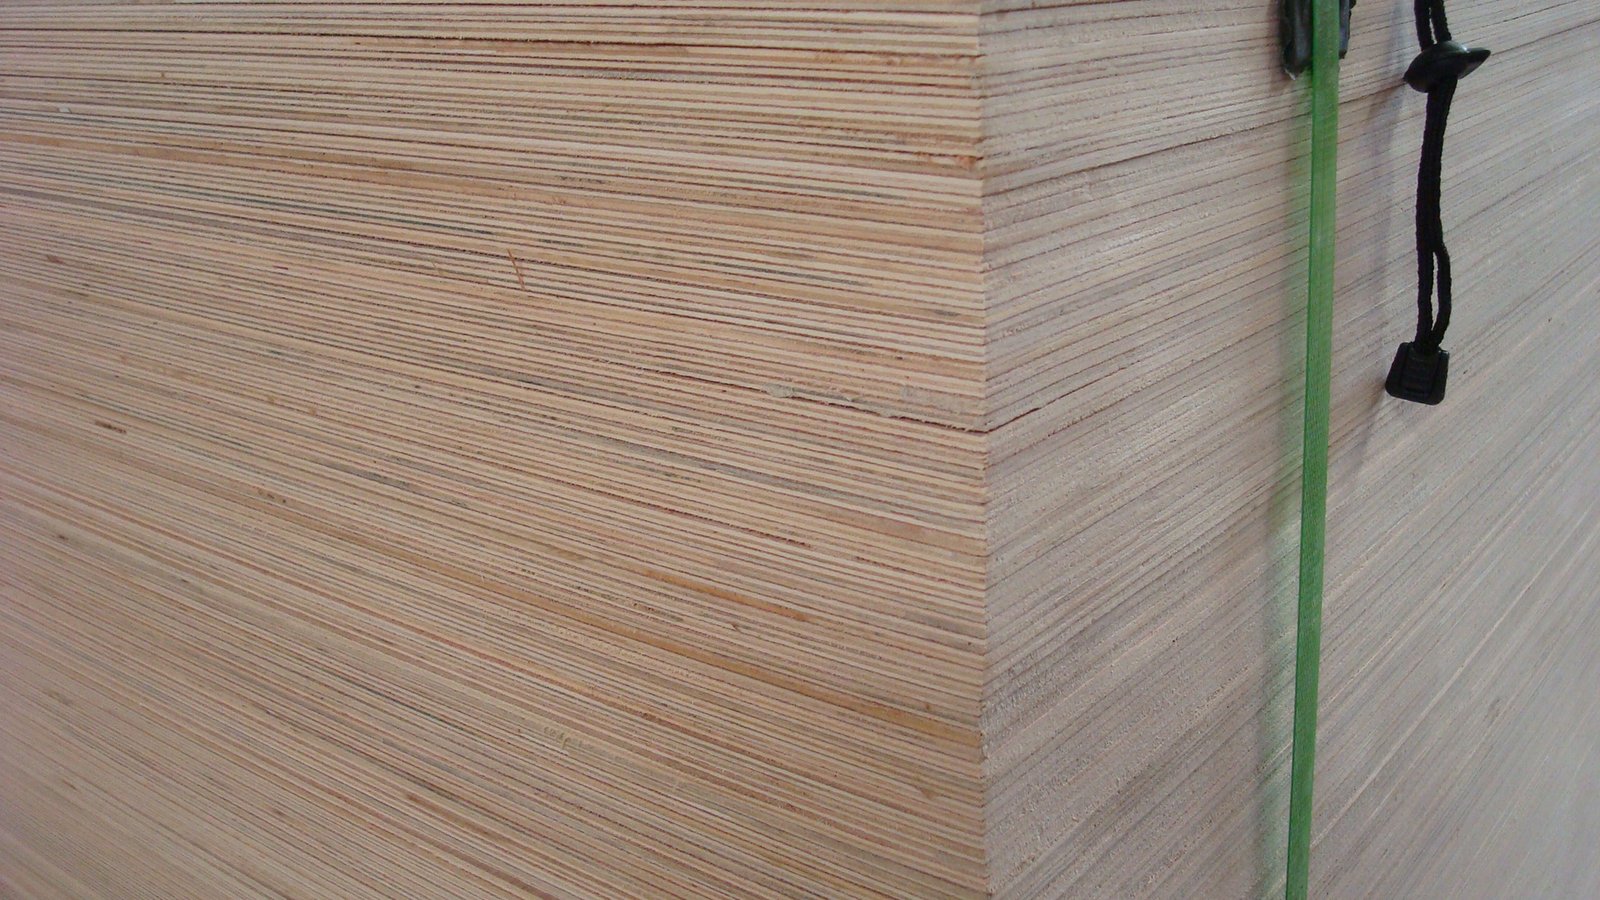
A plywood table uses the panel’s flatness and strength to build a stable, affordable top for dining, work, and desk builds. The layered core keeps the top flat, and the face takes a finish that ranges from a clear coat to a heavy-duty laminate.
The build succeeds when the top is flat, the edges are finished, and the base carries the load. A plywood table that skips any of those three shows the layers, wobbles, or wears quickly.
Plywood gives a large, flat, stable top that costs less than solid timber and resists the warping that a solid board shows. The cross-lamination keeps the top flat across the span, which a table needs for a level surface.
The panel also takes a wide range of finishes, from a clear coat that shows the grain to a laminate or a paint that matches the room. The maker shapes the top with ordinary tools and finishes it to the use.
Above all, plywood is predictable. It keeps its dimension, so the top stays flat and the joints stay tight through the seasons.
A solid wood top is beautiful and traditional, but it moves with the humidity and needs careful joinery to stay flat. A plywood top stays flat with less movement and builds faster, which suits a shop or a budget build.
The plywood top does not have the same thickness or the same repairability as a solid top, but for many tables the stability and the cost win.
A plywood table takes a few common forms. A simple slab top on a frame suits a workbench or a desk, a panel top with a solid edge suits a dining table, and a laminated or a bent top suits a curved or a shaped design.
The form follows the use. A workbench wants a thick, tough top that takes knocks, a dining table wants a flat, finished top that cleans easily, and a desk wants a smooth top that takes a finish.
Each type shares the same top construction: a flat panel, a finished edge, and a base that carries the load. The maker chooses the form, then builds the top to match.
A slab top uses a single sheet or a glued-up panel, which suits a workbench or a simple desk. A panel top adds a solid edge or a band to hide the layers, which suits a dining table.
A laminated or a bent top uses thin layers glued over a form to create a curve, which suits a shaped or a decorative table.
The top must be thick enough to stay flat and to carry the load. A workbench uses a thick panel that resists flexing, while a dining table uses a panel thick enough to span the base without sagging.
The thickness follows the span and the load. A long, unsupported span needs a thicker top or a support rail, while a short span takes a thinner panel.
The face grade follows the finish. A clear finish wants a sound, tight face veneer, while a painted or a laminated finish tolerates a utility face under the coating.
Check the span between the base supports and the load the table will carry. A dining table that seats six needs a top that does not flex when the dishes go down.
Add a support rail or an apron under the top to stiffen it, because a top that flexes feels weak and wears the finish at the joints.
The edge is where a plywood table shows its construction, so the edge treatment matters. A solid wood edge, a band, or a filled and painted edge hides the layers and gives the top a finished look.
The finish follows the use. A workbench takes a durable oil or a varnish that resists knocks, a dining table takes a hard-wearing polyurethane or a conversion varnish, and a desk takes a smooth finish that feels good under the arms.
Seal the edges and the underside as well as the top, because moisture enters from every face and a sealed edge keeps the top flat.
A solid wood edge gives the top a thick, furniture look and takes a profile from a router. A veneer or a laminate band hides the layers on a budget, and a filled and painted edge suits a modern or a painted table.
Each edge treatment has a place, and the maker chooses it with the table’s style and the tools on hand.
Start with a flat, square top cut to size, then add the edge treatment and the finish. Dry-fit the top to the base and check it for level and for overhang before fixing it down.
Fix the top to the base with buttons or slotted brackets that allow the panel to move slightly with the humidity. A rigid fixing cracks the top or the base as the panel moves.
Finish the top and the base separately, then assemble them. A finished top that fits the base cleanly looks built-in rather than improvised.
Use figure-eight fasteners, buttons, or slotted brackets that let the top expand and contract across the grain. A top that cannot move will crack or buckle as the humidity changes.
Check the fixing points for a secure but not rigid hold, because the top needs to move without coming loose.
The first mistake is a top that is too thin for the span. A thin top flexes and feels weak, so the maker matches the thickness to the span and the load.
The second mistake is an unfinished edge. A raw plywood edge shows the layers and drinks moisture, so every edge needs a band, a solid edge, or a sealer.
The third mistake is a rigid fixing. A top fixed solidly to the base cracks as it moves, so the fixing must allow a little movement.
A finished table needs little care beyond wiping the surface and checking the finish for wear. Re-coat the top before the finish fails, and touch up any chips before moisture reaches the panel.
Keep the table out of direct sun and away from heat sources, because the finish and the panel both last longer in a stable environment.
The top panel must be flat and stable. Commercial Plywood gives a flat, consistent top for most tables, while Melamine Plywood suits a wipe-clean work or kitchen table. MDF Board gives a smooth painted top, Film Faced Plywood suits a tough workbench top, and Chip Board covers a budget utility table.
Suppliers such as HYY list the thickness and the face grade on the contract, so the buyer can order a top that stays flat and takes the finish.
A plywood table suits many styles, from a rustic workbench to a modern dining table. The edge treatment and the finish set the style, and the base design completes the look.
A live-edge or a natural edge suits a rustic table, where the plywood’s flat top contrasts with a rough or a natural edge. A straight, banded edge suits a modern table, where the clean lines and the smooth finish dominate.
The base can be a simple frame, a trestle, or a panel base, and the choice follows the table’s use and the room’s style. A plywood top on a steel base suits an industrial look, while a plywood top on a plywood base suits a unified, all-wood design.
A plywood table that has worn or chipped can be sanded and refinished, because the face veneer takes a light sand and a fresh coat. A deep chip or a swollen edge needs a repair before the finish.
A swollen edge is dried, sealed, and refinished, while a chipped edge is filled and banded. A table that is sound but worn is sanded and given a fresh coat of the original finish.
Regular maintenance extends the table’s life, because a finish that is renewed before it fails protects the panel and keeps the table looking good.
What plywood is best for a table top? A flat, stable panel with a sound face veneer suits a clear finish, while a utility face works under paint or laminate.
How thick should a plywood table top be? The thickness follows the span and the load, with thicker tops for long spans and heavy use.
How do you finish the edge of a plywood table? Use a solid wood edge, a band, or a filled and painted edge to hide the layers and protect the core.
Can you use plywood for a dining table? Yes, with a thick enough top, a finished edge, and a durable finish that resists heat and spills.
How do you attach a plywood top to a base? Use buttons, figure-eight fasteners, or slotted brackets that allow the top to move with the humidity.