Our Location
5th Floor, Huake Center, Lanshan District, Linyi City, Shandong Province, China

5th Floor, Huake Center, Lanshan District, Linyi City, Shandong Province, China
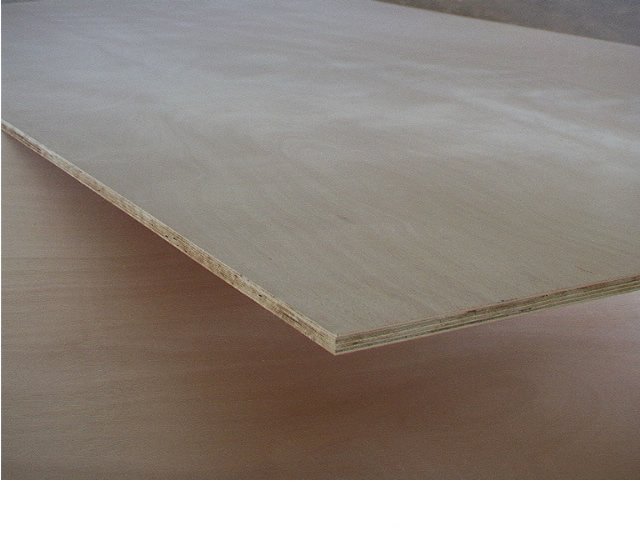
A plywood desk earns its way with one sheet chosen for three jobs: the top needs a clean face and a stiff core, the frame needs panels that carry screws and joinery, and the finish needs to survive elbows, keyboards, and the occasional coffee ring. Nailing those three decisions produces a desk that stays flat and presentable for years.
Builders and DIY makers choose the panel by the working span, the hardware, and the finish they can install, and the right plywood grade makes the difference between a stable work surface and a sagging top.
The top carries the desk’s whole purpose, so the sheet selection starts there. A cabinet-grade face suits a clear or painted finish, while an A-grade face shows even grain without patches. The core must stay flat across the desk width without intermediate support.
Thickness sets the limit. An 18 mm sheet spans a standard 600 to 1200 mm desk with minimal sag under normal loads, while thinner panels need a frame or a center support to keep the top level. The span-to-thickness rule guides the choice before any clamps come out.
Moisture content in the sheet matters less for an indoor desk, but flatness does. Choose panels stored flat, and re-check the top for warp before cutting, because a bowed sheet never straightens on the frame.
The face grade decides how much sanding and priming the top needs. A clear finish shows every patch and streak, so it wants an A-grade face, while a painted top tolerates a sanded B face that seals under primer. Matching the grade to the finish removes a whole stage of labor.
Edge appearance follows the same logic. Birch or maple faces take stain and show a tidy edge line, while softer or patched faces look better banded or painted, and the choice belongs in the plan before the sheet is bought.
Three frame styles cover most plywood desks. A torsion box sandwiches two thin skins over a grid of ribs for a light, extremely flat top. A plywood panel top on solid legs keeps the build simple and cheap. A full plywood carcass with sides, gables, and shelves holds the top rigid without separate legs.
| Desk style | Best for | Hardware to plan |
|---|---|---|
| Torsion box | Long, perfectly flat work surfaces | Edge banding and corner fasteners |
| Panel on legs | Simple home and office builds | Heavy-duty steel legs or timber frames |
| Full carcass | Storage desks and built-ins | Hinges, drawer slides, shelf pins |
The joinery follows the frame. Dadoes and pocket screws suit carcass work, while steel legs bolt to the panel through threaded inserts. Plan the fastening schedule before cutting so every screw lands in solid plywood edge grain rather than a hollow void.
The top carries the monitor, the coffee, and the leaning weight of the user, and the frame transfers that load to the floor. A center leg or a back panel stops a long top from bowing over months, even when the plywood grade is high.
Modern desks also need cable routes. Cutting a grommet hole in the top or a channel in the back panel keeps the wires tidy, and planning those cuts before assembly avoids drilling the finished desk on site.
Cut the top oversize, then trim to final size so the edges stay square and chip-free. A fine-tooth blade on the panel saw, or a track saw with a zero-clearance base, keeps the face clean on both sides of the cut.
Exposed edges reveal the plywood layers, so the edge treatment sets the finish quality. Birch plywood edges sand smooth and take a stained finish, while softer cores need hardwood edge banding to avoid dents at the front edge where the arms rest.
The corners take the hardest wear. A rounded profile on the front edge, protected with banding or a solid timber nosing, keeps the top presentable where the skin touches the wood for hours a day.
A desk stays square when the assembly sequence is right. Cut the parts to the plan, dry-fit the frame, and check the diagonals before glue and screws lock the shape. A square frame keeps the top from twisting as the fasteners draw tight.
Glue plus screws hold better than screws alone in plywood edge grain, and clamping the joint while the glue cures removes the tiny gaps that open over time. Care at assembly is what keeps the desk quiet and rigid after years of use.
The finish does the daily work. A coat of hard-wearing polyurethane or a conversion varnish protects the top from scratches, spills, and the gradual darkening at the wearline. Oil finishes look natural but need re-coating where the surface works hardest.
Sand progressively up through the grits before the first coat, and apply the finish in thin, even layers. A desktop that receives three coats of a durable varnish stays clean through office hours, while a single oil coat looks good on arrival and fades under constant contact.
For a painted desk, prime the plywood face to seal the grain and the edge layers, then two coats of satin enamel over a sanded primer. The primer prevents the grain telegraphing through the paint weeks later.
The front edge and the two outer corners take nearly all the contact, so a solid nosing or a banded edge extends the finish life far beyond an unprotected plywood layer. A replaceable strip along the front even lets a shop refresh the wearline without rebuilding the top.
Felt pads under peripherals and a coaster policy protect the field of the top, but the honest durability comes from the edge and the coating, which is where a cheap desk shows its age first.
Desk parts draw from the panel range by duty. Commercial Plywood builds the desktop and the carcass with a clean face and a stiff core, while Melamine Plywood arrives pre-finished for shelving and drawer fronts that skip site painting. MDF Board machines routed edges for designer details, and Chip Board covers budget furniture parts. Film Faced Plywood stays on formwork rather than furniture.
Suppliers such as HYY stock the desktop and carcass sheets together, so a maker can order the clean-face top and the economical internal panels on the same schedule.
Kept simple and honest, the plywood desk serves for years without special care. Wipe the top with a damp cloth, avoid dragging sharp objects across the seam, and re-coat the worn front edge when the finish dulls.
Loose hardware and small scratches are the usual wear, and both have easy fixes. Tighten the leg bolts and re-snug the threaded inserts once a year, and touch up scratches with a matched wax stick before the wood darkens around the mark.
If the top develops a slight bow, a center support added underneath corrects it without a rebuild. Checking those small items keeps the desk working like new long after the first coat of finish.
Let the sheets acclimate to the room where the desk will live for a few days before cutting. Plywood moves with humidity, and a panel that adjusts on the bench cuts and assembles at the same moisture it will see in service. Stand the sheets on edge with air around each face so both sides breathe equally and evenly throughout.
What plywood is best for a desk? A cabinet-grade or A-face panel at 18 mm thickness gives the flattest, cleanest top. Pair it with a frame or carcass so the sheet spans without sag.
How thick should a plywood desk top be? 18 mm suits the common 600 to 1200 mm spans. Below that the panel needs a center support, and above 25 mm the top gains stiffness for long, open desks.
Is plywood good for a desk? Yes. Plywood stays flat, holds screws well, and takes a durable finish, which makes it one of the most reliable desktop materials for builder and DIY desks alike.
Can I build a desk with one sheet of plywood? A standard 18 mm sheet of 1220 x 2440 mm builds a compact top, sides, and shelves. Larger desks need two sheets or a torsion-box approach.
How do you seal the edges of a plywood desk? Band the edges with hardwood or apply several coats of varnish to the exposed layers. Banding gives the strongest front edge against daily contact wear.